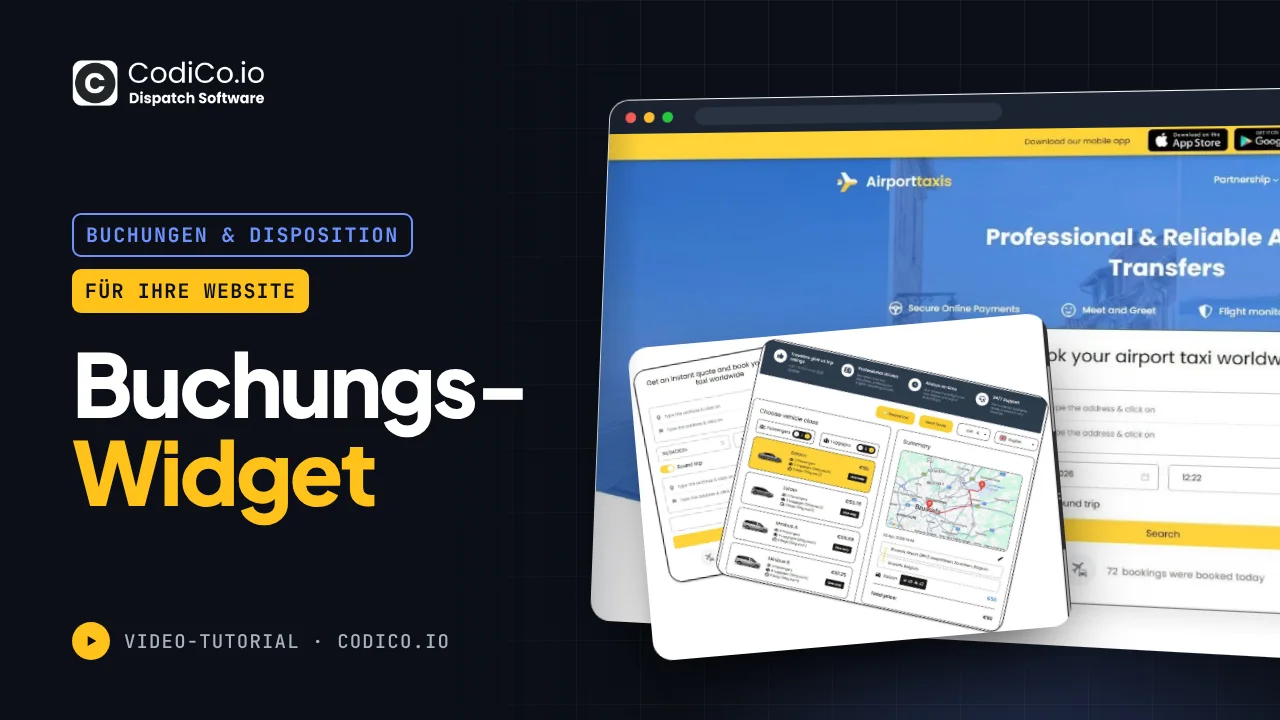
0:02hello everyone in this video I’ll show you how to set up your booking widget and place it on your website first log into your admin account and scroll to the widget integration section let’s go to this section here you’ll find your referral link QR code and Main widget setting along with the integration code let’s explore the widget settings their benefits and how to use them the first setting is the widget language here you can choose from all the languages our system supports for your widget for instance if your site is in French select French for the widget in the code the local parameter with prefix fair means load the widget in
1:21French choosing German changes the local parameter to D the widget will load in German choosing English changes the local parameter to en loading the widget in English the next parameter is partner ID partner ID is a unique number for referral link participation this parameter helps the system recognize orders from referral program users and adds their Commission if you’re the admin placing the widget on your site you don’t need this parameter the next field is the related URL for redirect often a small widget on the main page lets users fill in details and redirect IRS them to a detailed booking
2:47page for example let me show you let’s look at this site as an example on the main page there’s a small widget for basic trip details let’s fill it out we’ve filled it all out we’re on the main page now after clicking search we go to another page on the site it’s available under the domain path book it’s airport taxes.com book where the second widget part shows car choices and payment options this is the redirect we’re discussing specify the page address here for user redirection to the Second Step redirect URL after successful payment this setting helps track conversions by redirecting users to a special page
4:03after payment for example a thank you page with a Google analytic script add the URL here to redirect users after payment when users complete an order the system redirects them to this page after successful payment this option works if this setting is disabled we also have settings and settings bookings there’s a redirect to personal account setting if you have a personal redirect setting it takes priority in this case users are redirected to the specified page if empty but redirect to personal account is checked users are redirected if unchecked users see the next step with a thank you message inside the
5:21widget the next field is Google Map API sometimes we place our widget on Partner sites and don’t want to share our Google map key or we want Partners to use their own Google map key insert thirdparty Google Map Keys here and the widget uses the specified key fields for terms and conditions and privacy policy in the widget below the booking button there are links indicating agreement with privacy policy and terms of condition insert links in these fields for users to access terms of condition or privacy policy specify links here to redirect users the next setting is active tag tab active tab indicates which service is active by default these are airport transfers City
6:38taxis and delivery this setting specifies the default active service in your widget airport transfers are active by default switch to City taxis or delivery the widget adds the tab delivery parameter making delivery the default active tab changing to City Taxi makes City Taxi the active tab I recommend using City Taxi as it works for both City and Airport transfers the system recognizes airport orders and calculates them at transfer rates if the airport isn’t listed it’ll see it as a taxi and charge taxi rates no need to pick a separate airport transfer I’d suggest def faulting to a taxi next up is the showmap parameter activating it adds a new parameter show map True why do we need this the old widget
7:54has the site map by default we have two widget types there’s an old and a new booking widget in the old Widget the map opens by default it opens right away if unchecked users see a show link when entering addresses opening the map next check box show review booking activating it adds show review booking true what’s this option for when an order’s done and we don’t redirect to an account or thank you page a button appears asking if they need a car upon arrival for instance ordering from Brussels to Frankfurt airport after paying a button asks if they need a car upon arrival clicking lets them book another trip from the
9:17airport last option show last booking popup it mainly shows in user accounts during orders small popups show recent orders in our system it’s a marketing tool showing the systems active and others are ordering too full addresses aren’t shown just basic info like from where to where I suggest turning this option off parameters will adjust these are your widget settings now about placement I’ve prepped some pages I have a test booking widget let’s check it out let’s add our booking there copy our script copy it into Global site settings place in the header BL and the widget works on any page if you don’t want it on all pages add it to a specific
10:38tab add it like this insert our script and add our widget code to the page partner one isn’t needed remove it click publish after saving view the page our widget is on the page it’s ready to go it’s in English by default if I switch to French and save after saving it’s in French same for other languages now about these tabs even with the City Taxi tab active the transfer tab shows how to hide these switches it’s handy with separate delivery here are transfers and City taxis switched to delivery or switch back to City Taxi airport transfer how to show just one
11:53tab there’s a special parameter I’ll show you here’s the parameter add it to the widget add a space and hide ride type specify transfer delivery we say hide ride types which ones transfer and delivery leave only City Taxi here’s the parameter added to the widget after this those tabs will disappear and only one active tab will remain which is your City Taxi let’s save and check we’ve saved it let’s go to the page and as we can see the tabs have disappeared and by default the active tab is City Taxi so this is how you can Implement your widget if we didn’t specify a redirect in our widget like now it’s not here all widget actions will happen on this same page for example the address we click search and stay on this page moving to step two without a redirect but if we use the redirect parameter we
13:09have a second page let’s look at it here’s our second page for the redirect it has this URL let’s copy it and specify it for step two this means that after you complete the first step please redirect the user to this page and as we can see new Fields appear here for our widget these new parameters appear this is the widget for the page where we redirect and our code so let’s first add for the page where we redirect let’s copy our script add our code that needs to be inserted on the page where we will direct the user in English City Taxi is the active parameter partner is not needed we don’t show last booking after this we save our
14:25page now I’ll show you the page is saved let’s open to make sure the widget works on it everything is fine the widget appeared on it the page works now we need to edit our previous page we must now say there that you should send the user here’s our test booking widget we need to edit it and tell it to add these parameters that after the order is made you should send the user to this page that is copy and paste this widget code I won’t copy the entire widget I’ll just insert these two parameters that is our widget is already here and we add two parameters to it this is blank true meaning open in a new page if true or we can remove this parameter and it will open on the same page that is here when you specify the widget it will open a new tab for you or in this same tab let’s leave it and look at both options all right we’ve added it
15:42saving saved waiting for to update let’s take a look that is we are on the first page test booking widget we add the address dropped airport Bru dropped airport srl for example click find you see a new tab opens where in fact we immediately go to the second step and the URL has already Chang to test redirect page booking view if we remove this blank true parameter here then a new tab will not open meaning we will stay on the same tab let’s check saved let’s refresh this page you see something loaded we won’t leave a new tab will not open now in ordering we will apparently I didn’t save it because a new tab opened let’s look again yes blank true let’s set blank false save
17:10saved let’s update we don’t need all these pages except page updated let’s update again and now let’s specify from Brussels Airport Brussels URL booking doesn’t open a new tab so everything happens in the same tab in this same tab we move to a new page where our reservation continues this is how the blank true or false parameter works if you set blank true it opens a new tab and switches to it if blank false everything happens on the same page I’ll add this hide right types parameter in the video description we’ve covered how to use the widget configure it and place it on your site it doesn’t matter if it’s a WordPress site or another just place this small code in the pages code where you want your widget and it’ll appear there thank you all for your attention