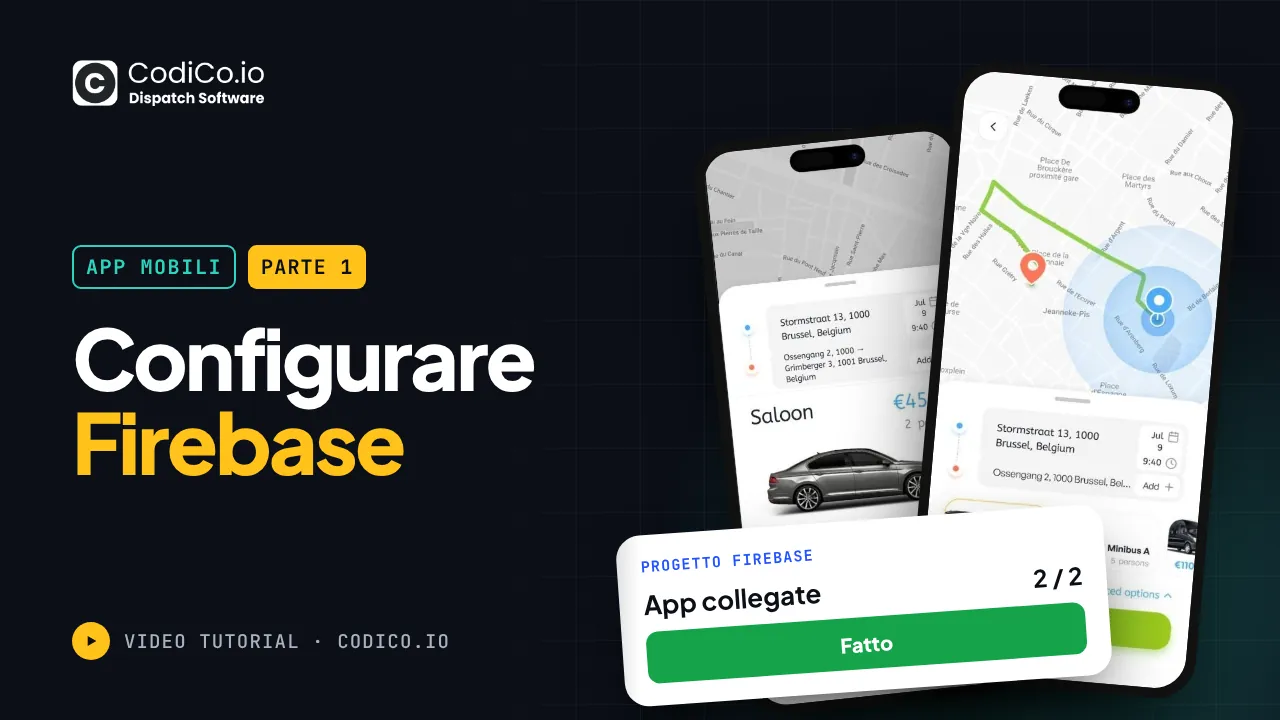
0:00Today I’ll show and tell you how to compile an app for Android and iOS. As an example, we’ll use the site democode.io. First, we need a configuration for Firebase because without it, the compilation won’t proceed. To start, we go to firebase.google.com and register there. I’ve already done this, so I’m greeted with this interface where I’m offered to create my first project. We’ll do just that and name our project identically to demo. Continue. We don’t need G mini. Analytics is not needed.
0:48We wait for the project creation to complete after which we’ll proceed to create keys specifically for each type of application. that is for iOS and for Android. Click continue. And here we’re offered to create a key to add our app on iOS, Android, or web. We won’t use web. We’ll start with Android. Here we need to enter the package name, which is a mirror reflection of our site. In this case, io.code.demo. Name your ad. For example, demo. Continue. If it offers to download the key, but we won’t download it yet. We skip all this and go to the console.
1:44So, here’s our demo app. And in this app we need authentication get started and here we’ll take and use Google for example we enable it leave everything as is for example we can choose our email then save Now we can go to our project app and download Google services here. Let me show you what it looks like.
2:41Here’s our Google services. And if we don’t create a registration, this section will be empty, but it might be useful later. We also get a key here. And here’s our package. When compiling the app, it’s very important that this package matches. If it doesn’t match, the compilation won’t be successful. That’s the main thing. Now besides the demo, we need to create another project. Another app. We could make a project, but we’ll make an app which we’ll name io.code kimmo driver.
3:32This is so that we have an app for drivers. We’ll call it demo app driver. in principle everything is the same. Here’s the driver here. We can also add an authentication method. It’s already enabled. However, it’s enabled. We can now make sure it’s enabled. And here we’ll download the file and see actually.
4:28Here’s the second file with the key. In principle, you can use it. You can use the first one. You can use the second one. Ideally, both are suitable, but usually each has its own. That is the IODCO demo app uses its own key. And for ioco demo driver its own key. Now we have two apps the main app and the driver app. We also add another app for iOS performing the same manipulations and decor demo mother.
5:27I I here we can immediately download this file. Nothing needs to be connected in principle. We download it. This is for our main app. And we do the same for the driver out code demo driver. Oh, are you cutie demo?
6:28Yes. It complains about the underscore, but you can leave it like that. The main thing is to ensure that this identifier matches what’s in the app’s source code and that it is unique. When registering on the app store and play marketing, we’ll also name it app iOS demo.
7:21Here’s our second generated file for iOS. So for two apps we’ll have four files that is for Google Play Market and for iOS. That’s it for this stage. Next we’ll start compiling the apps themselves. Setting up and compiling. Today I’ll show and tell you how to compile an app for Android and iOS. As an example, we’ll use the site democode.io. First, we need a configuration for Firebase because without it, the compilation won’t proceed. To start, we go to firebase.google.com and register there. I’ve already done this, so I’m greeted with this interface where I’m offered to create my first project. We’ll do just that and name our project identically to demo. Continue. We don’t need G mini. Analytics is not needed. We wait for the project creation to complete after which we’ll proceed to create keys specifically for each type of application. that is for iOS and for Android. Click continue. And here we’re offered to create a key to add our app on iOS, Android, or web. We won’t use web. We’ll start with Android. Here we need to enter the package name, which is a mirror reflection of our site. In this case, io.code.demo. Name your ad. For example, demo. Continue. If it offers to download the key, but we won’t download it yet. We skip all this and go to the console. So, here’s our demo app. And in this app we need authentication get started and here we’ll take and use Google for example we enable it leave everything as is for example we can choose our email then save Now we can go to our project app and download Google services here. Let me show you what it looks like. Here’s our Google services. And if we don’t create a registration, this section will be empty, but it might be useful later. We also get a key here. And here’s our package. When compiling the app, it’s very important that this package matches. If it doesn’t match, the compilation won’t be successful. That’s the main thing. Now besides the demo, we need to create another project. Another app. We could make a project, but we’ll make an app which we’ll name io.code kimmo driver. This is so that we have an app for drivers. We’ll call it demo app driver. in principle everything is the same. Here’s the driver here. We can also add an authentication method. It’s already enabled. However, it’s enabled. We can now make sure it’s enabled. And here we’ll download the file and see actually. Here’s the second file with the key. In principle, you can use it. You can use the first one. You can use the second one. Ideally, both are suitable, but usually each has its own. That is the IODCO demo app uses its own key. And for ioco demo driver its own key. Now we have two apps the main app and the driver app. We also add another app for iOS performing the same manipulations and decor demo mother. I I here we can immediately download this file. Nothing needs to be connected in principle. We download it. This is for our main app. And we do the same for the driver out code demo driver. Oh, are you cutie demo? Yes. It complains about the underscore, but you can leave it like that. The main thing is to ensure that this identifier matches what’s in the app’s source code and that it is unique. When registering on the app store and play marketing, we’ll also name it app iOS demo. Here’s our second generated file for iOS. So for two apps we’ll have four files that is for Google Play Market and for iOS. That’s it for this stage. Next we’ll start compiling the apps themselves. Setting up and compiling.